
The Basics
Getting Started
JazzCash enables quick and easy integration for its merchants with our next generation payment gateway. Merchants can Self-Register, Test transactions and Go-Live to start accepting payments. JazzCash offers a variety of integration modes depending on merchant’s functionality.
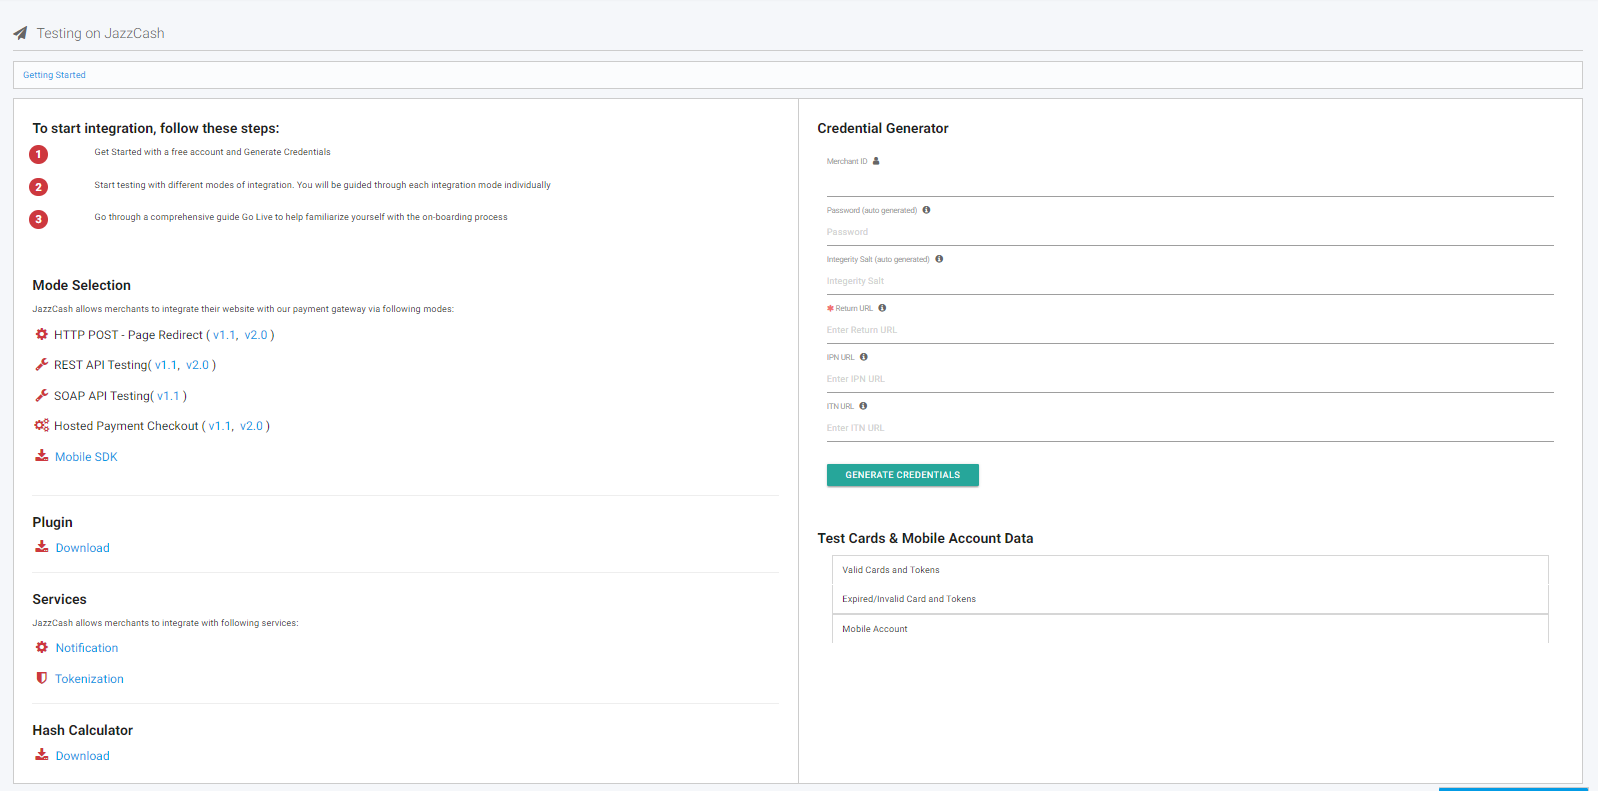
To start integration, follow these steps:
- 1. Get Started with a free account and Generate Credentials.
- 2. Start testing with different modes of integration. You will be guided through each integration mode individually.
- 3. Go through a comprehensive guide Go Live to help familiarize yourself with the on-boarding process.
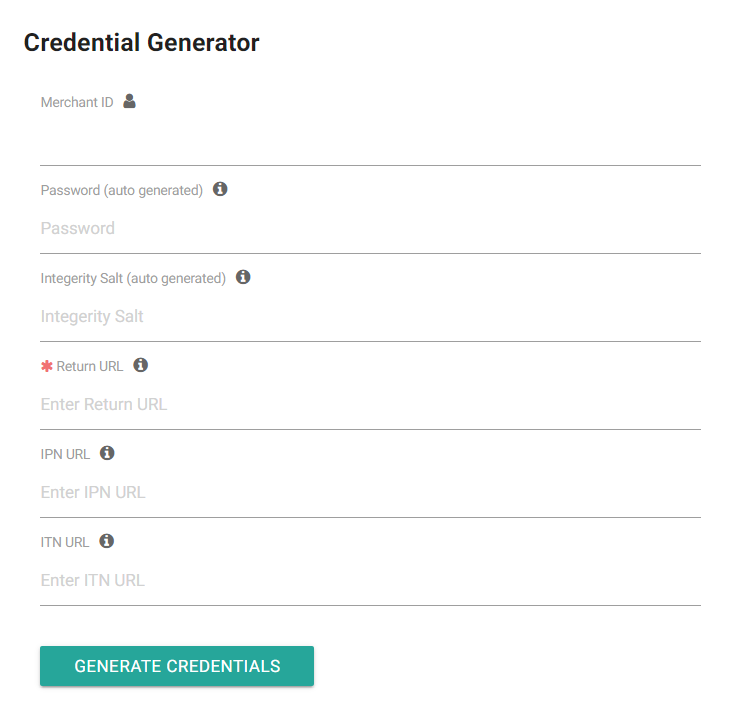
Generate credentials
To start testing, provide a Return URL and generate credentials.
Mode Selection
JazzCash allows merchants to integrate their website with our payment gateway via following modes:
HTTP POST (Page Redirection)
For an HTTP Post mode of integration, merchant can choose from Custom Development or Plugins while developing his e-commerce website.
- Custom Development The merchant may choose to develop a customized website using online resources including different platforms available over the World Wide Web. The following criteria has to be followed in order to further proceed with the integration:
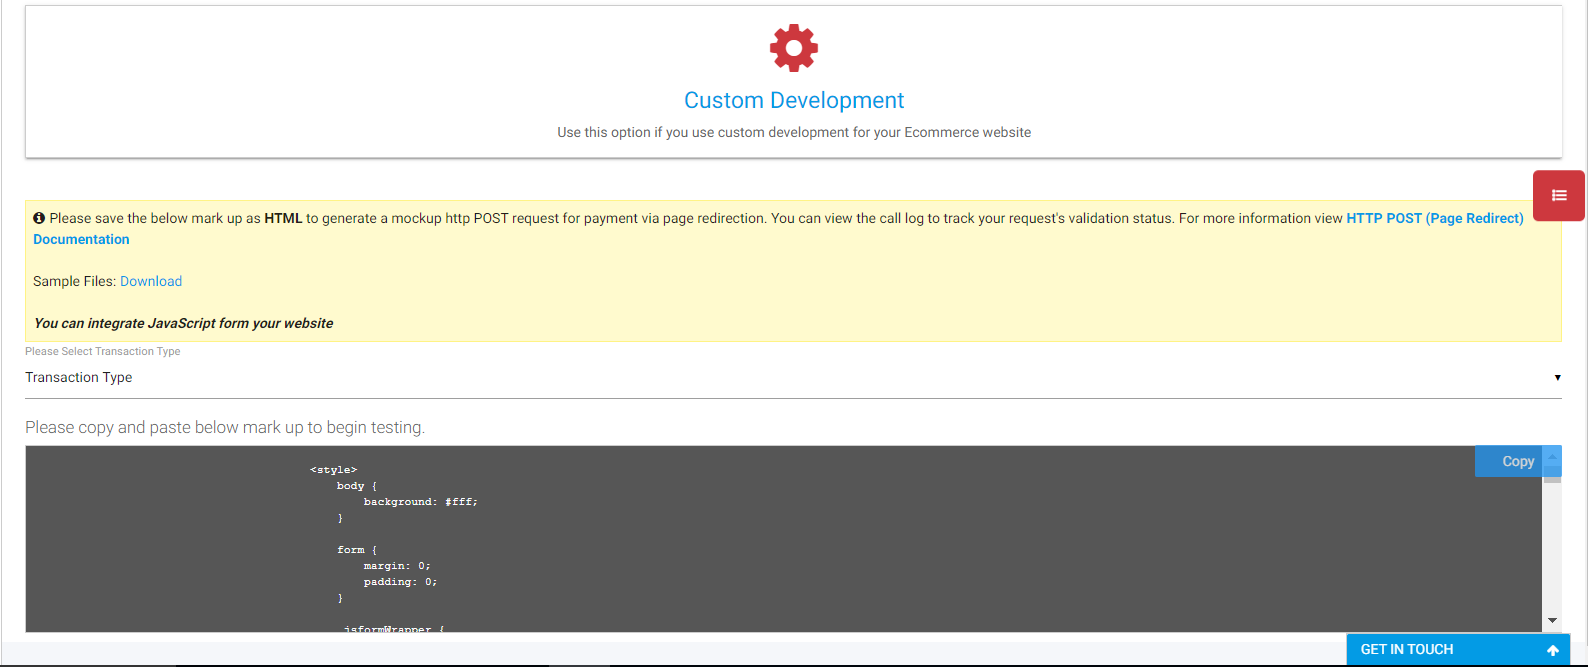
- The merchant would then be required to select a transaction type from the below mentioned list:
- i. Card Payment
- ii. Mobile Account
- iii. Voucher Payment
- After selecting the preferred transaction type, a list of codes become available for the merchant to copy (a ‘copy’ button is also visible on the bottom left). For Card Payment:
- i. The merchant copies and pastes the codes in the custom created website.
- ii. This generates a mockup HTTP POST request for payment via page redirection.
- iii. The merchant can then view the call log to track the request's validation status.
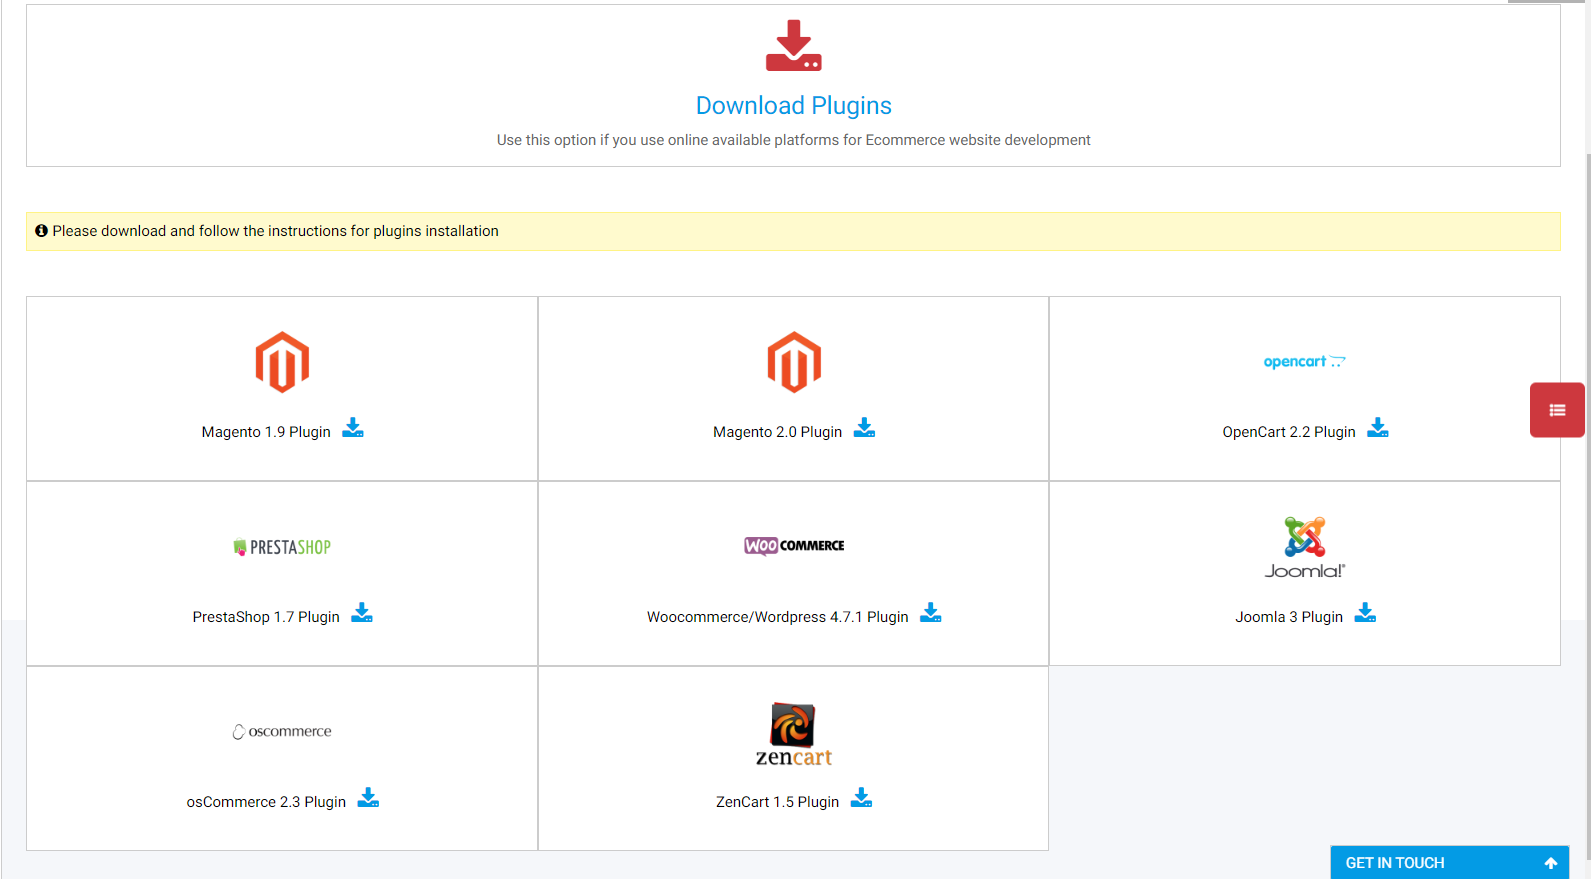
Plugins
- JazzCash also offers a portfolio of plugins to choose from. Merchants only need to download their preferred plugin to start integration. These plugins include:
API Testing
For API testing, merchant will follow the following steps:
1. Merchant will select from list of available options as given below:
- i. Mobile Account
- ii. Voucher Payments
-
iii. Card (VISA/Mastercard)
- i. Pay
- ii. Authorize
- iii. Capture
- iv. Refund
- v. Void
-
iv. Status Inquiry
- i. Transaction Status Inquiry
- ii. Transaction Status Update
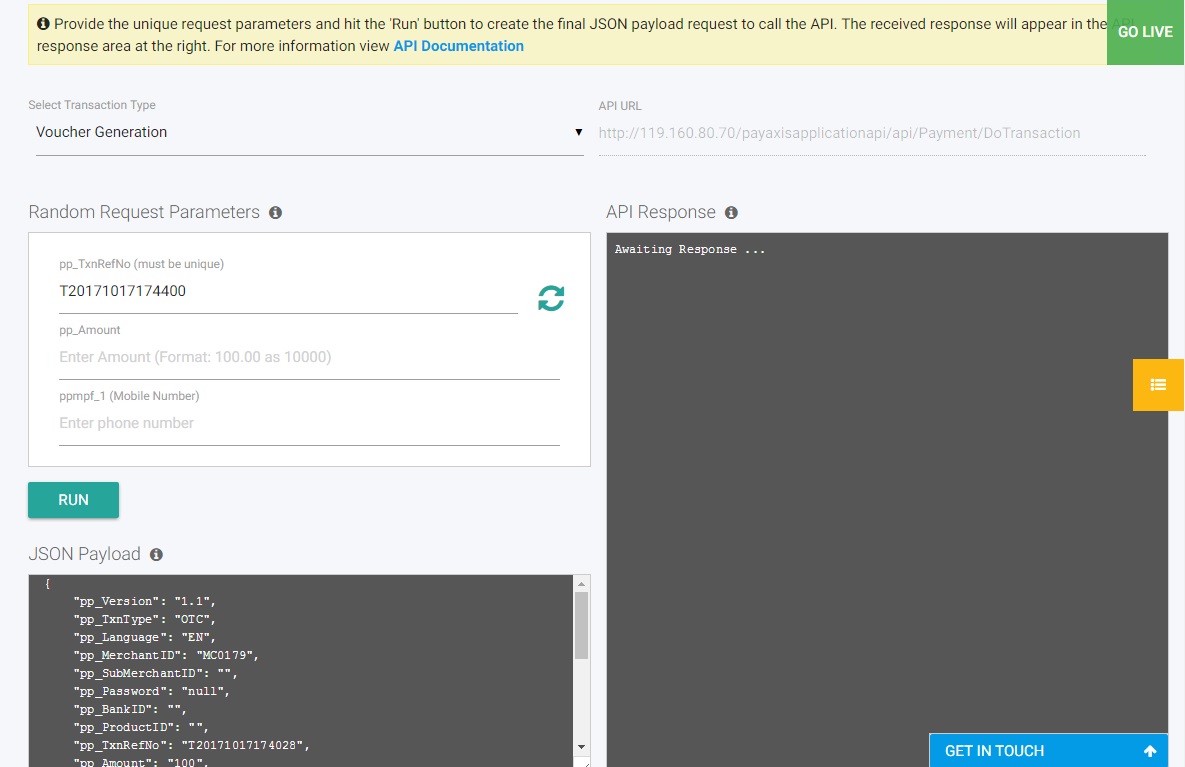
2. An API URL will be visible to the merchant using which the merchant can also invoke the API from other channels.
3. In the Random Request Parameters box, the following information needs to be provided by the merchant:
- a. Transaction Reference Number
- b. Amount
- c. Mobile Number
4. JSON Payload will be updated according to the given information. Once the merchant hits ‘run’ button, the API will give its response.
Transaction testing
To start testing transactions, the merchants can signup for free on the Sandbox Portal. They can log in and proceed with the integration process. Our testing simulator is configured to generate predictable results based on the transaction request and cart details provided. Click here to signup on the Sandbox Portal.
Going live
1. Merchant RegistrationClick on the “Get Started” button and signup as a merchant. The merchant is directed to a pop-up with multiple options for easy signup. After signup, merchant will receive an email with a link for registration.

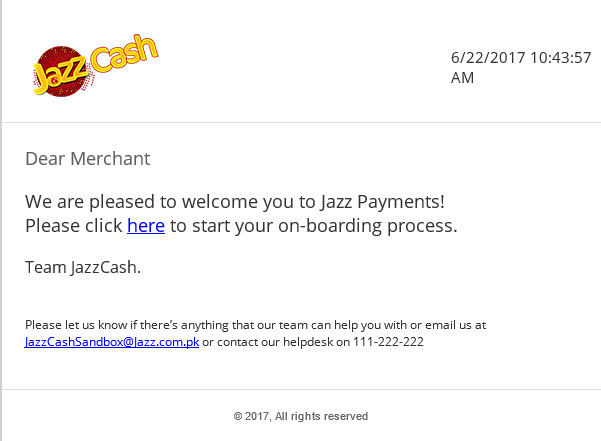
The above email will be received by the merchant along with a link to follow. As soon as the merchant hits the link, a screen appears asking for merchant's contact details to proceed.
The merchant registration form requires the following information from the merchant:
- • Merchant Name
- • Merchant contact person name
- • Merchant contact person email address
- • Merchant contact person phone number
- • Merchant contact person designation number
- • Merchant contact person category
- • Password
- • Merchant Phone Number
If all goes smoothly, the merchant gets the successufhl response message displayed on the screen.
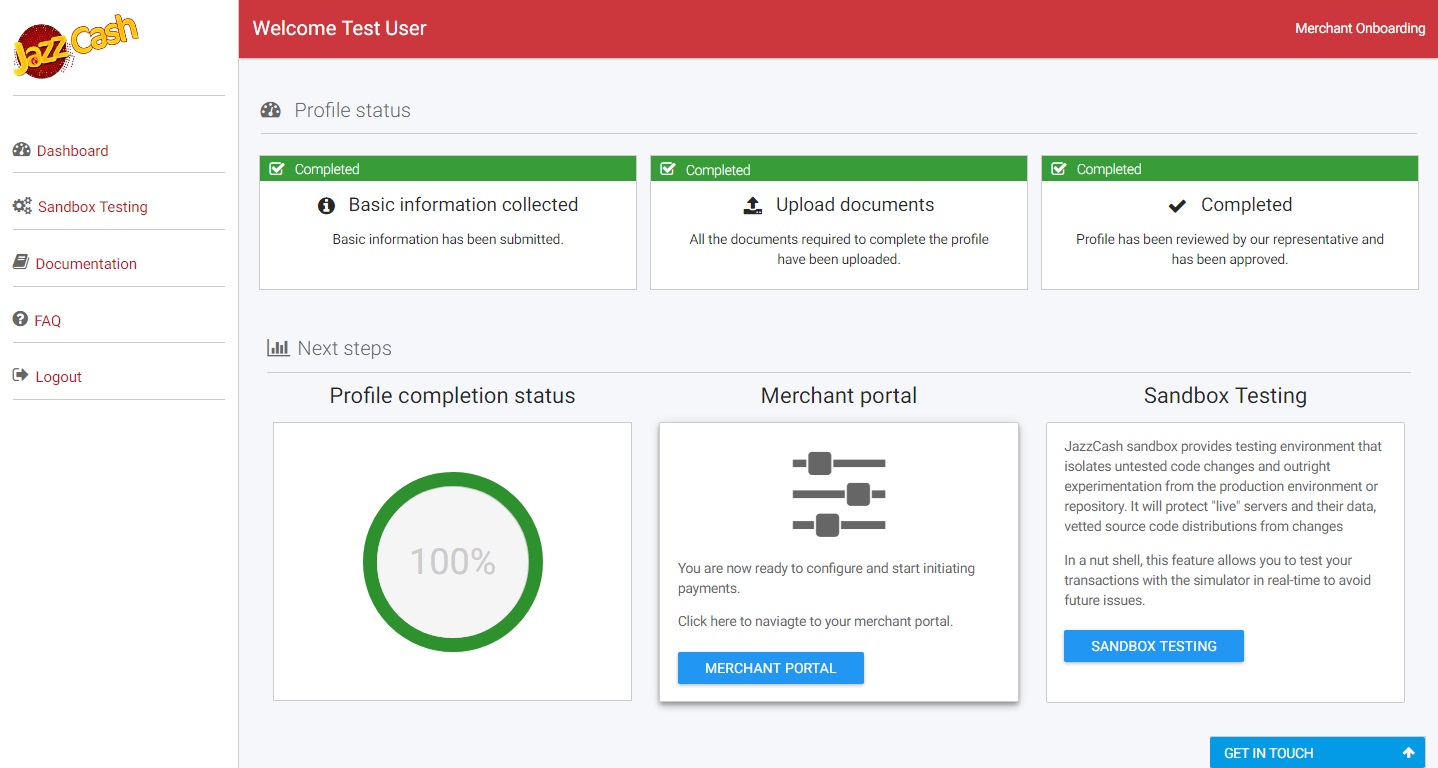
2. Merchant VerificationFirst Step:
To proceed with the registration, the merchant needs to sign-in with the registered username and password. There are three steps that lead to the verification of the merchant:
- • Basic Information
- • Documents Uploading
- • Account Verification
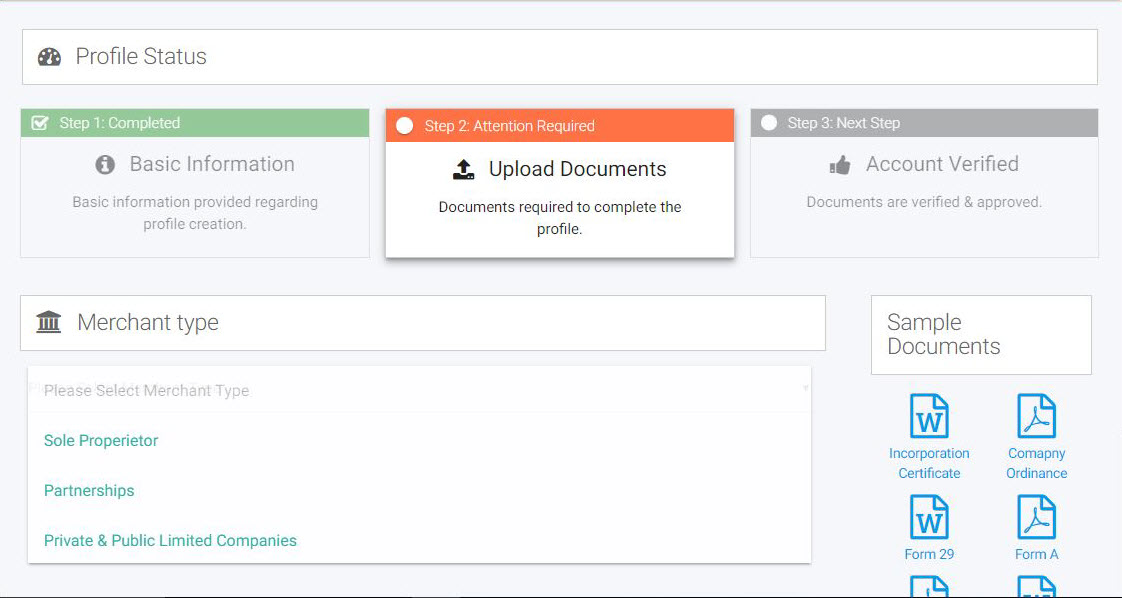
Second Step:
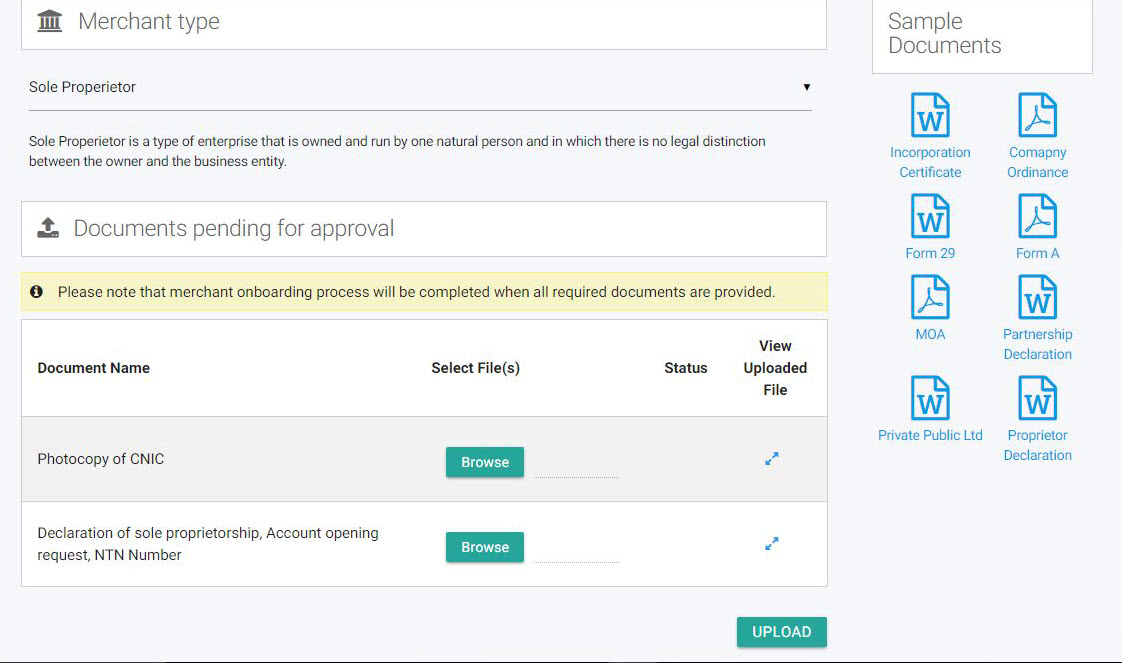
Merchant will upload required documents. Step by step guide & sample documents will be available for merchant’s ease. The merchant can either upload the documents one by one, in multiple days or simply upload all the documents in one go and send for authentication. The uploaded documents can be deleted or replaced only before passing authentication.
Following three merchant types are available and for every merchant, the number and type of documents vary.
- i. Sole Proprietor
- ii. Partnership
- iii. Private/ Public Limited Company
i. Sole Proprietor
- 1. Photocopy of CNIC
- 2. Declaration of Sole Proprietorship, Account Opening Request, NTN Number
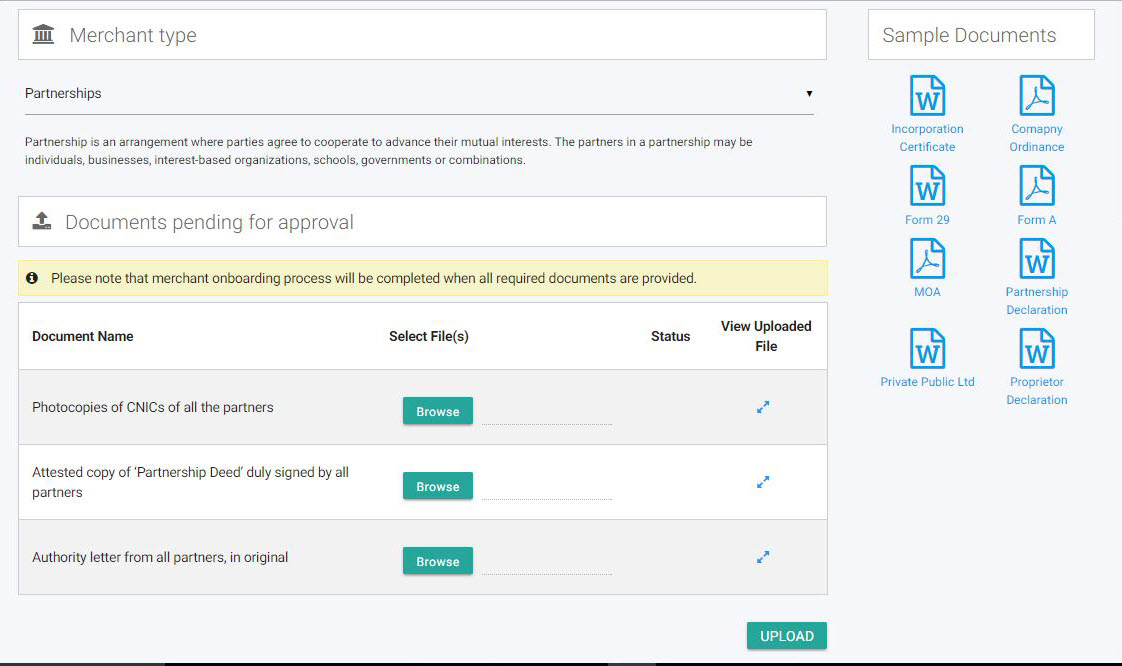
ii. Partnerships
- 1. Photocopies of CNICs of all the partners
- 2. Attested copy of ‘Partnership Deed’ duly signed by all partners
- 3. Authority letter from all partners (original)
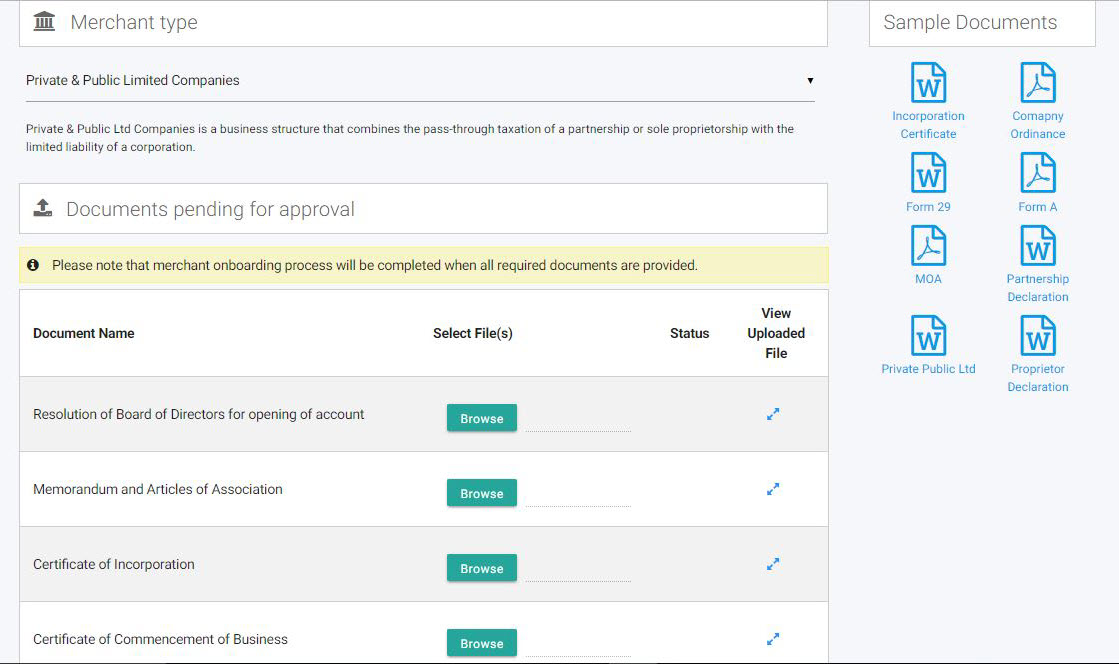
iii. Private and Public Limited Companies
- 1. Resolution of Board of Directors for opening of account
- 2. Memorandum and Articles of Association
- 3. Certificate of Incorporation
- 4. Certificate of Commencement of Business
- 5. Photocopies of CNIC of all the directors
- 6. List of Directors on ‘Form-A/Form-B’ issued under Companies Ordinance 1984
- 7. List of Directors on Form-29
- 8. Account opening requisition on business letterhead
- 9. NTN Number
Sole proprietorship is an unincorporated business owned and run by one individual with no distinction between the business and the owner.
Following documents are required for this category:
Partnership is an arrangement where the parties agree to cooperate in order to advance their mutual interests and benefits. The partners in a partnership may be individuals, businesses, interest-based organizations, schools, governments and combinations of any of these entities. Following documents are required for this category:
Private and Public Limited Companies can be taken as business structures combining the pass-through taxation of a partnership or sole proprietorship with the limited liability of a corporation. Following documents are required for this category:
Once all the documents have been authenticated by the bank teams, merchant receives an email containing the status of the verification request. In case of any discrepancy, merchant is requested to upload the required document again.